As cool as it is to build a speaker box, it is even more enjoyable to do it for the people who appreciate music and sound. It can even save you money and allow you to transform the way it appears, sound as well and size it as you wish. In the first place, master the fundamentals. It is so whether you are building a guitar amp, bass box or a quality home speaker. Before you start, you may read this article and obtain all the knowledge you need.

Benefits of Making Your Own Cabinet
There are a few main perks to making your own speaker cabinets:
- Customization: Pick the materials, sizes, and looks that you want.
- Cost savings: High-end cabinets can be pricey. If you build your own, you can save a lot of money.
- Custom Sound Tuning: You have complete control over the sound design, making it work best for your drivers and personal sound tastes
- Satisfaction: There’s nothing better than using a box you built yourself to play or listen to music.
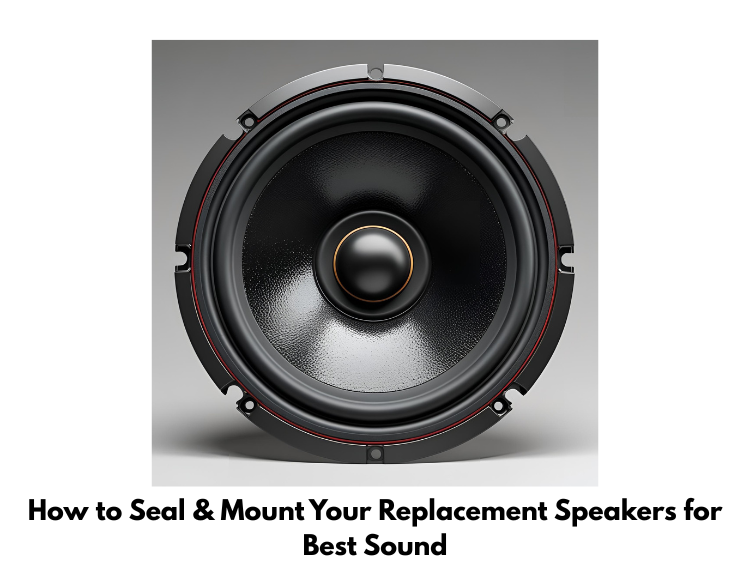
For more on home audio speakers, check out Best Replacement Speakers for Home Audio in 2025.

Planning Before You Start
1. Write Down Your Goal: What kind of cabinet do you have? A bass setup? A radio for the house? Different design decisions need to be made for each reason. As an example:
- People who play guitar often choose open-back speakers because they sound fuller and more open.
- Most of the time, bass cabinets need to be sealed or ported to get a tight, sharp low end.
- To get clarity and sound balance, home audio speakers need to be carefully engineered.
2. Pick the Right Speakers: A lot of what your cabinet sounds like depends on the drivers, which are the speakers. Carefully look into the specs of your drivers:
- Ohms of impedance
- Taking in power (watts)
- Response range for frequencies
- Size (10”, 12”, 15”, etc.)
Make sure that the driver you choose works with the output of your speaker.
3. Choose the Cabinet Type: There are a few main types of cabinets:
- Sealed (Acoustic Suspension): Sound that is tight and clear. It’s great for bass and sound.
- Ported (Bass Reflex): It’s louder and works better, especially for lower sounds.
Open-Back: Sound is lighter and less focused; commonly used in guitar amplifiers.
For best efficiency, each style needs a different set of formulas.

Materials and Tools You’ll Need
Materials:
- Good plywood—birch is the best choice for tone and longevity
- Driver(s) for speakers
- Glue and screws for wood
- Soundproofing or softening material for noise
- Cloth for the speaker grille
- Handle, corner guards, and feet (especially for playing cabs)
Tools:
- Saws for the round or table
- Power drill
- Saw (to cut the hole for the speaker)
- Clamps
- Tape measure
- An iron for soldering (to wire the speaker)
The sound and longevity of the cabinet will be greatly improved by using high-quality materials, especially oak.
Tips for Building Your Cabinet
- Get Accurate Measurements: As the saying goes, “measure twice, cut once.” Simply misaligning the speakers can weaken the box and make the sound less clear. Make sure that every panel fits well.
- Tight Joints: An airtight shelter is very important for sealed or open designs. Put a lot of wood glue on all the joints and then use screws to make them stronger. Low-end reaction and effectiveness can be lost because of small leaks.
- Bracing the Inside
Internal support can help keep cabinets from shaking and bending, which can change the sound, especially for bigger cabinets. Simple wooden bars running between walls can be used as braces.
- Dealing with Noise: Putting padding inside the box, like foam, fiberglass, or acoustic stuffing, lowers standing waves and internal echoes. This makes the sound clearer.
- Port Placement: When making a ported cabinet, the size and placement of the ports are very important. Ports can be either round tubes or square slots. Use internet tools to find the right sizes based on the Thiele/Small factors of your driver.
Setting Up Your Speaker
When you connect your speaker:
- Use wire with the right size (16 or 18 gauge is usual).
- Watch out for polarity: a speaker that is wired backwards can cancel out other sounds if used with them.
- If you can’t solder, use snap joints instead to make sure the links are safe.
- To get the right total resistance, you need to choose between series, parallel, or series-parallel wiring when adding more than one speaker, like in a 2×12″ guitar cab.
Finishing Touches
After you build and test your cabinet:
- Sand the wood to make it smooth.
- Paint, plastic wrap (Tolex), or natural wood color should be used.
- Put a speaker cover over your driver to protect it.
- Add handles, sides, and feet to make it easier to move and last longer.
Finishing options are both useful and nice to look at. Take your time with this step if you want to look professional!
Final Thoughts
The time spent in sealing and mounting your replacement speakers correctly may not be huge, but it can help a lot with their output. The secure and close fit eliminates unnecessary vibrations, prevents air leak effects, and allows your speakers to provide clear and strong audio whenever you increase the volume. Once you upgrade your car system or your home system, take your time to install it carefully, and you will have the most outstanding results in terms of performance and a clear, audible sound from your new equipment.