One of the easiest and most satisfying ways to improve the sound in your car is to replace the speakers. You can save a lot of money by doing it yourself, whether your old speakers are worn out or you just want better sound. If you’re ready to improve the sound in your car, here’s a simple, step-by-step guide in this article.

Step 1: Get Your Car Speakers Materials and Tools Together
Make sure you have everything you need before you start:
- New car speakers (make sure they fit your car)
- Screwdrivers (Phillips and flathead)
- Panel removal tool
- Wire stripper and crimper
- Tape or soldering kit (for wire connections)
- Mounting hardware (if not included with the speakers)
- Car manual (for instructions and wiring info)
Not required but helpful:
- To check the wires, a multimeter
- Foam speaker covers (to protect and improve sound)
Things will go more quickly and easily if you have the right tools on hand.
If you’re still choosing the right components, check out this guide on the top 5 car replacement speakers for superior sound quality in 2025.
Step 2: Take the Battery Out – Safety First!
Before working on any electrical parts of your car, you should always unhook the negative lead of the battery. This step keeps you from getting shocks or short circuits while you’re working with wires.
Step 3: Take Off the Car Speakers Grilles or Door Panels
It depends on the type of your car, but speakers are generally hidden behind door panels, dashboards, or back deck panels.
If you can get to them through grilles, some speakers have simple grilles that you can remove with a flathead screwdriver or similar tool.
If it’s behind a door panel, you’ll have to take off the whole panel. Check the door handle, backrest, and door edges for screws. Some screws might be hard to see because they are under trim or plastic covers. Carefully pry off the door panel with a panel removal tool, being careful not to damage the clips or the panel itself.
Tip: Sort all of your nuts and small items into groups. An iron tray works great for this.

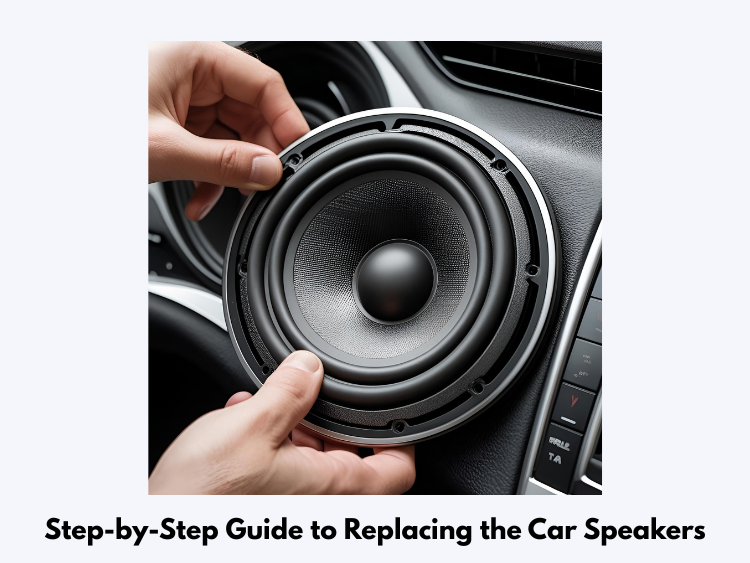
Step 4: Take Out the Old Car Speakers
As soon as you can:
- Pull the old speaker off of its base by its screws.
- Carefully unplug the speaker’s wiring harness or pull the wires apart by hand.
- Do not forget to write down which line is positive and which is negative. This will make installation easy.
You might need an adapter for the new speakers if the way they’re mounted in your car is different.
Step 5: Hook Up the New Car Speakers
It’s now time to hook up your new speakers.
- Insert the adapter wire that came with your new speakers into your car.
- If not, you’ll have to connect the lines by hand.
- Take off about ½ inch of insulation from the end of each wire. Then, you can either solder the wires together or crimps them together. Connect positive to positive and negative to negative.
- To keep the joints from shorting out, it’s important to tape or heat-shrink the tubes around them.
If you’re unsure what type of speaker is ideal for your needs, check this comparison of woofers vs. subwoofers.
Step 6: Put the Car Speakers to the Test
Before putting the door or panel back together completely, temporarily connect the car battery and test the speakers. Play your music and look for:
- The speaker works
- There isn’t any distortion or noise
- The sound is coming from the right place
If everything sounds good, take the battery out again before going any further.

Step 7: Put the New Car Speakers in Place
Once you’re sure the speakers are working right:
- Use the screws or clips that come with them to hold them in place.
- You might need a fixing bracket or to make a few adjustments yourself if the new speaker doesn’t fit perfectly.
- Make sure the speaker is snug, but not too tight. If it is, the frame could bend or the speaker could get damaged.
Step 8: Put the Door Panels or Grilles Back Together
Carefully put the door panels or grilles back on:
- Put all of the clips in the right place, then gently press the panel back into place.
- Put back all the screws and trim bits that you took off earlier.
- Make sure it fits securely a second time.
Don’t rush through this step if you don’t want parts to rattle or come loose later.
Step 9: Last Test
Put the battery back in and give it one last sound check. Play a range of songs to make sure:
- All of the speakers are working
- There are no distortions, buzzing, or rattling sounds
- You like the new sound
If something seems wrong, check the wires and installation again.
Last Thoughts
Getting new speakers for your car can make the sound much better and breathe new life into your rides. At first, the job may seem hard, but it’s actually very doable with some patience and planning ahead. The work is also well worth it when you hear the difference in sound quality after doing it yourself.
Also, if you’re considering a home audio upgrade, here are the best home replacement speakers of 2025 to complement your audio improvements.